Create an Art Space for All Ages With These 3 Questions
Anyone can be an artist. Creating artistic environments that nurture creativity, self-expression, cultural awareness AND support development at any age is feasible. No doubt, you've created art before and will again in the future, for work or pleasure. The following questions help you think about the art you would like to create, so you can prepare your ideas! Whether you are a parent, grandparent, teacher, caregiver, or just a lover of creating art, look to one or all three of these questions to help you improve your preparation and inspire artwork!
1. What age will be creating?
Okay, this first question seems simple. And it can be. But, thinking through the age group you are working with can also make a big difference in the way an art project is approached.
Tips for Under Three Years Old
Working with children under three, the art is most likely going to be more process-based than product-based, and the art could get quite a bit messier than with an older child. Choose the art and the place where art is created purposefully with these ideas in mind. Squishing different color paints around in a plastic bag may not make a frame-worthy end product, but it might be a lot of fun to do! Painting a toddlers' feet and allowing them to walk on a length of butcher paper is better done on washable linoleum or outside than in a carpeted room.
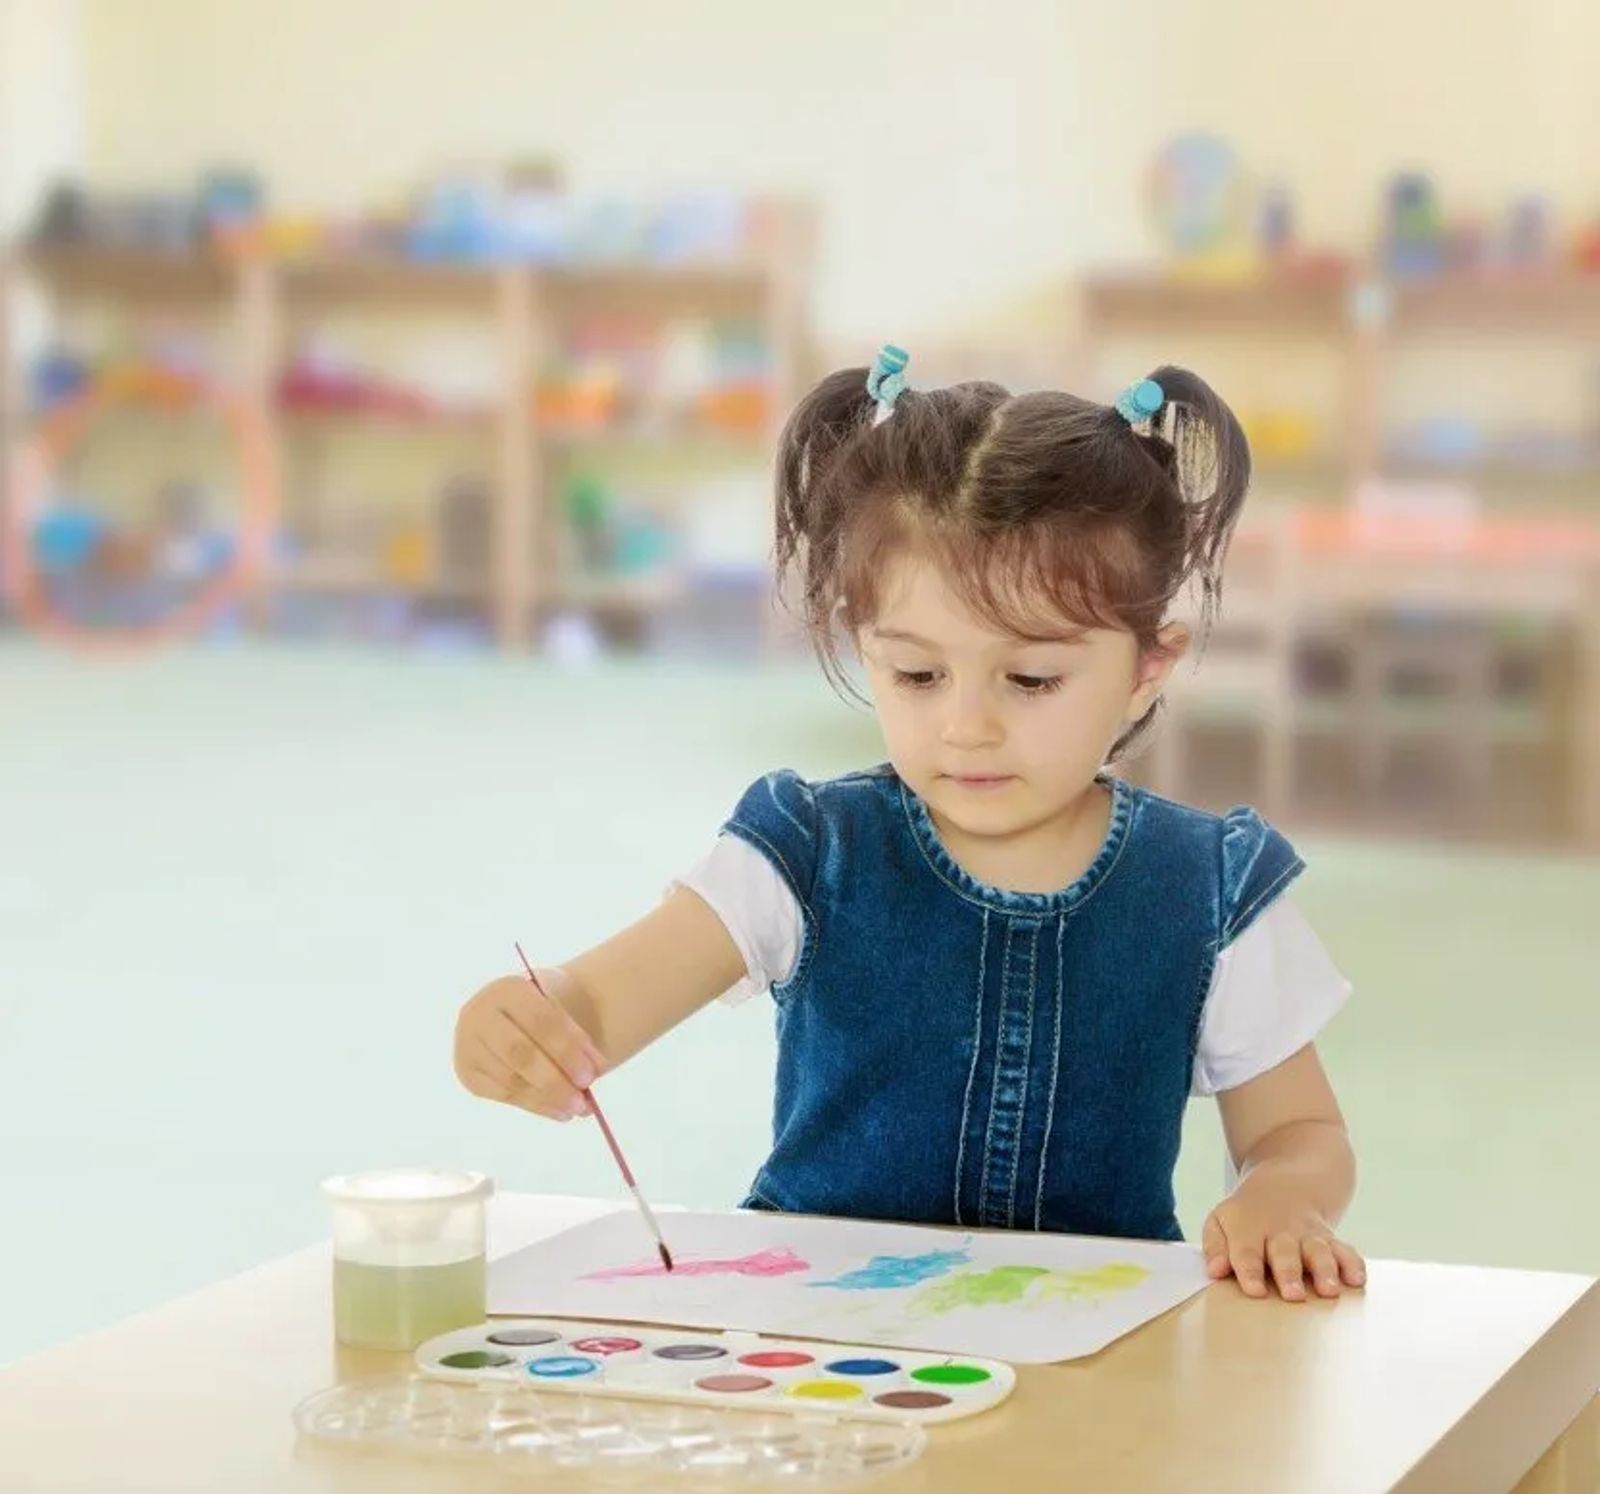
A child under three is less likely to sit through a long presentation or concentrate on the art for as long as an older child might. However, they just might surprise you! It's incredible to watch a two-year-old carefully cover every part of a white piece of paper with colorful, thick tempera paint. Meanwhile the other five children around her are happily chatting about their favorite food with hardly a care for what colors they are using or the hole that is developing in the paper because they have barely moved their brush strokes!
A younger child might also be more interested in art depending on the time of day or what has happened (or has still yet to happen) in their day. Think about the timing of the art. Is it almost time for a nap? Did the child just finish an outing, or are they hungry? Art can be optimally fun for the youngest children when thought is given to the preparation.
Tips for Three Years Old +
Children over age three usually enjoy process-based art just a much as product-based art; while it is lots of fun to create art for the process, as a child gets older, they also start to look for an outcome in their art. Sometimes witnessing the finished product can be just as much fun as the creation itself. Other times it can feel frustrating to not create an end product that matches the one they made in their mind. Allowing the child to explain their art to the adult rather than the adult making assumptions about the art can go a long way in the child feeling fulfilled by their creation.
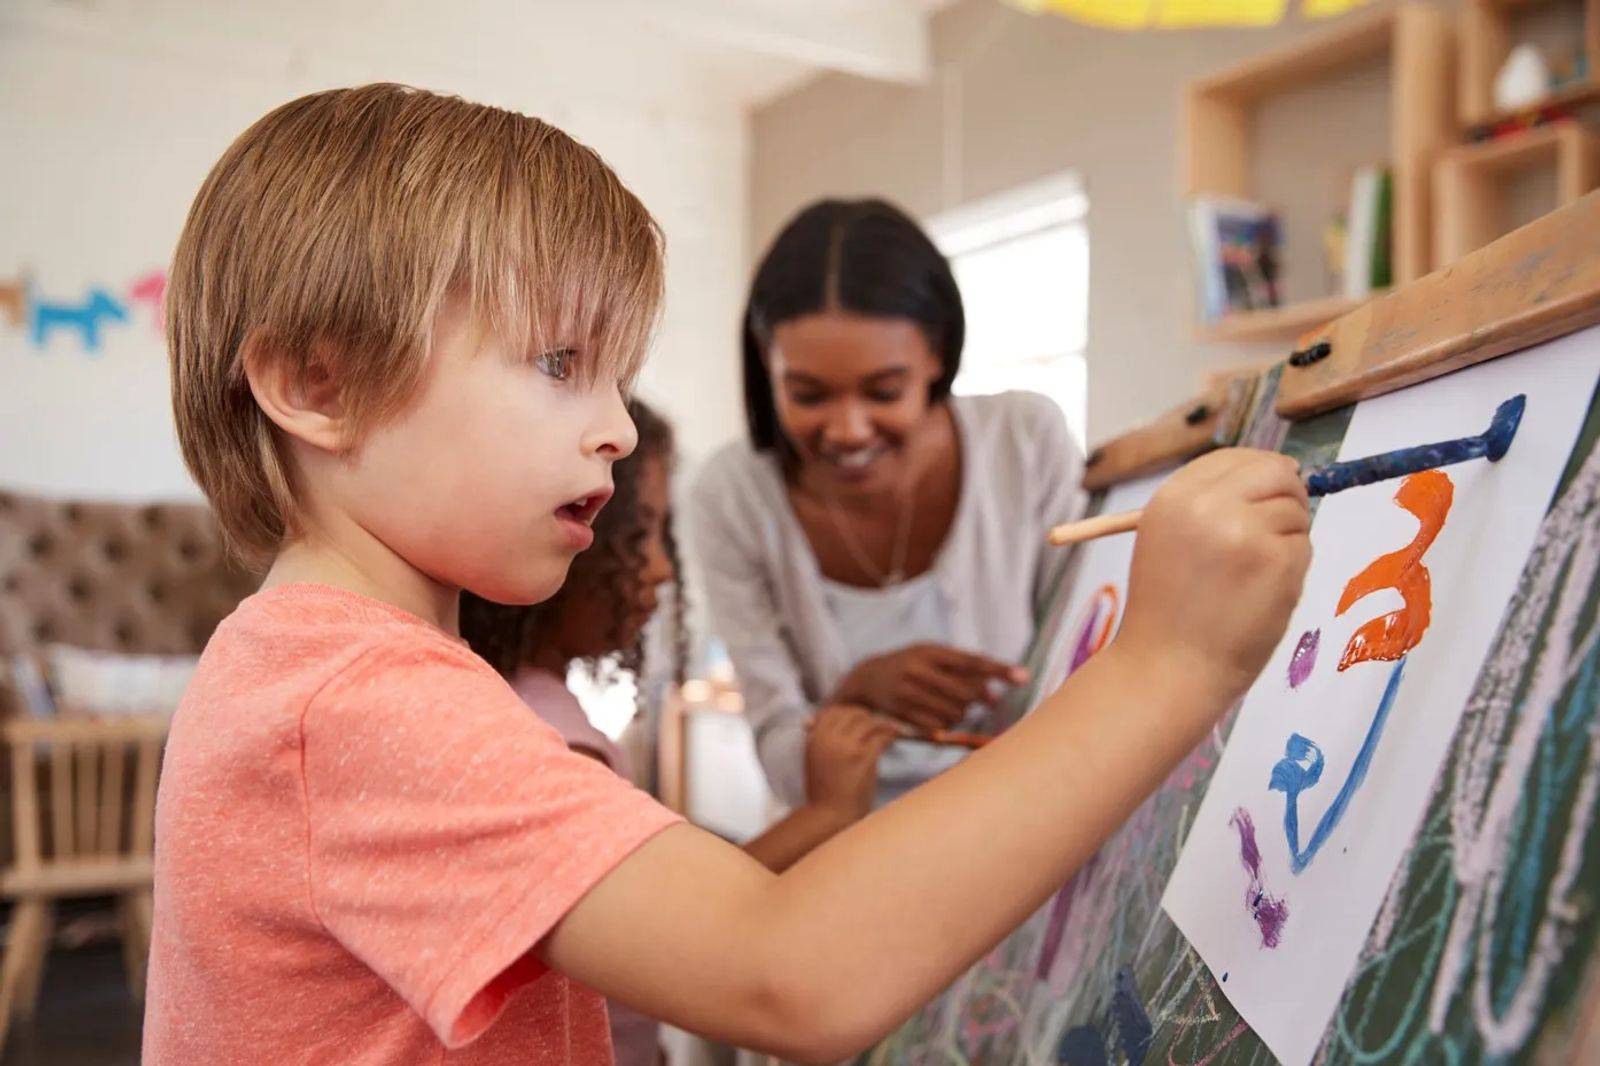
Taking a three- to six-year-old child through an artistic experience like the creation of a self-portrait, will be very different at the beginning of a school year versus the end, and the change is even more evident the older the child becomes. It is impressive to see the transformation that takes place with self-portraits. It's hard to convince a younger child that our eyes are actually located almost halfway down on our heads. (Don't believe it either? Take a look in a mirror!) Things like symmetry and noses are also noticeably different in an younger portrait, and the pictures appear more cartoon-like. A middle school portrait will prove entirely different than one created in high school, because art and artistic abilities increase as one grows and matures. This doesn’t change how precious each individual portrait is, it just alters the outcome.
If a child is frustrated with their artwork, it is okay to let them process that too. Remind them that each piece is a work of additional practice. Even if they don’t feel it’s worthy of being hung on the refrigerator, they are still improving their skill set for their next creation. If the child initiates the conversation and suggests throwing that piece away or starting over, unless there is a reason why that isn’t a possibility (not enough paper to try again, or a habit of starting works without finishing, for example), the child should be allowed to decide to end a piece of artwork that way, too. Watch the child who chooses not to keep their artwork. The relief experienced when they throw a piece of art away can be palpable. It is their creation, after all, and should be theirs to do with as they please!
When viewing another person's art, comment on colors or shapes, ask about the process, or notice factual details without allowing for your interpretation. For example, you might say something like, “Wow! I l like the shade of blue you used and how it curved around near the edge of the paper! Was it challenging to get it so close to the edge? And I see the red dot you used at the top and then left the upper part of the paper almost bare. How did you make the choice to stop the color where you did?”
2. What materials will be used, and how?
Which Materials to Choose
There are lots of options for inexpensive art mediums, so that lack of money doesn’t have to hinder creation. Lots and lots of project ideas using recyclables exist. Often, family, friends, and even local business are happy to donate things like egg cartons, cardboard tubes, paper bags and even flowers past their prime (but still beautiful). Broken crayons that are difficult for coloring can have their wrappers removed and be used for rubbing on their sides or melted down in an oven to create new crayons. Leftover pieces of paper or fabric from cutting works can be used in collage works. Paper pieces can even be collected and remade into full sheets of recycled paper. The more the adult is able to see their surroundings as a potential for creating art, the more art possibilities seem to exist!
Giving children ample variety of art supplies will allow each child to learn the materials they like to create with the most. Some children would be content to color all day with colored pencils. Others are drawn to chalk pastels. Oil pastels seem to be able to drawn most any child's interest. And cattle markers? You'll be hard-pressed to find someone who doesn't like the challenge and excitement that comes with cattle marker painting!
It is the job of the adult to create freedom within limits for the supplies that are offered. Until the child shows proficiency in using the materials safely and appropriately, an adult should remain nearby to continue to demonstrate how to use different tools and observe their use. A pair of scissors should be used carefully and properly, repeatedly by the child until the adult feels confident that they can be used without constant supervision. Rather than setting out a tub of markers, a cup of ten or fewer different colors is given instead. Or, before markers are used, the adult might choose colored pencils or crayons, which are more forgiving if a mark is made somewhere other than the artwork.
How to Use Different Materials
Along with deciding which medium to use, the decision also needs to be made how it should be used. It is helpful to think why supplies are used a certain way in order to know how to use them in a variety of scenarios. If a vinyl art mat is used with every artwork, the table underneath stays protected, but maybe the vinyl is only required when using glue, markers or clay. Rather than making an art mat a requirement for some works but not others, if an art mat is required every time a medium is chosen from the art shelf, it is less likely to remain on the shelf. Keeping consistent rules helps allow children to make choices that make sense.
Glitter can also be a very fun, albeit messy, medium, but it is made much more child (and clean-up) friendly if put in glue and applied with a paintbrush. Applying glue with a paintbrush may be an easier process for younger children than trying to manipulate a bulky bottle of glue that takes more finger strength and control than they yet possess.
Consider how to instill a sense of order into each artwork as well as auto-education. The adult should think about the organization of room: where is the best place for a drying rack so the child doesn’t have to travel too far with drippy artwork? Is there a water source nearby for painting or cleaning up a mess? Baskets, trays, bowls and card holders are just a few simple ways to organize artwork on a shelf for easy retrieval.
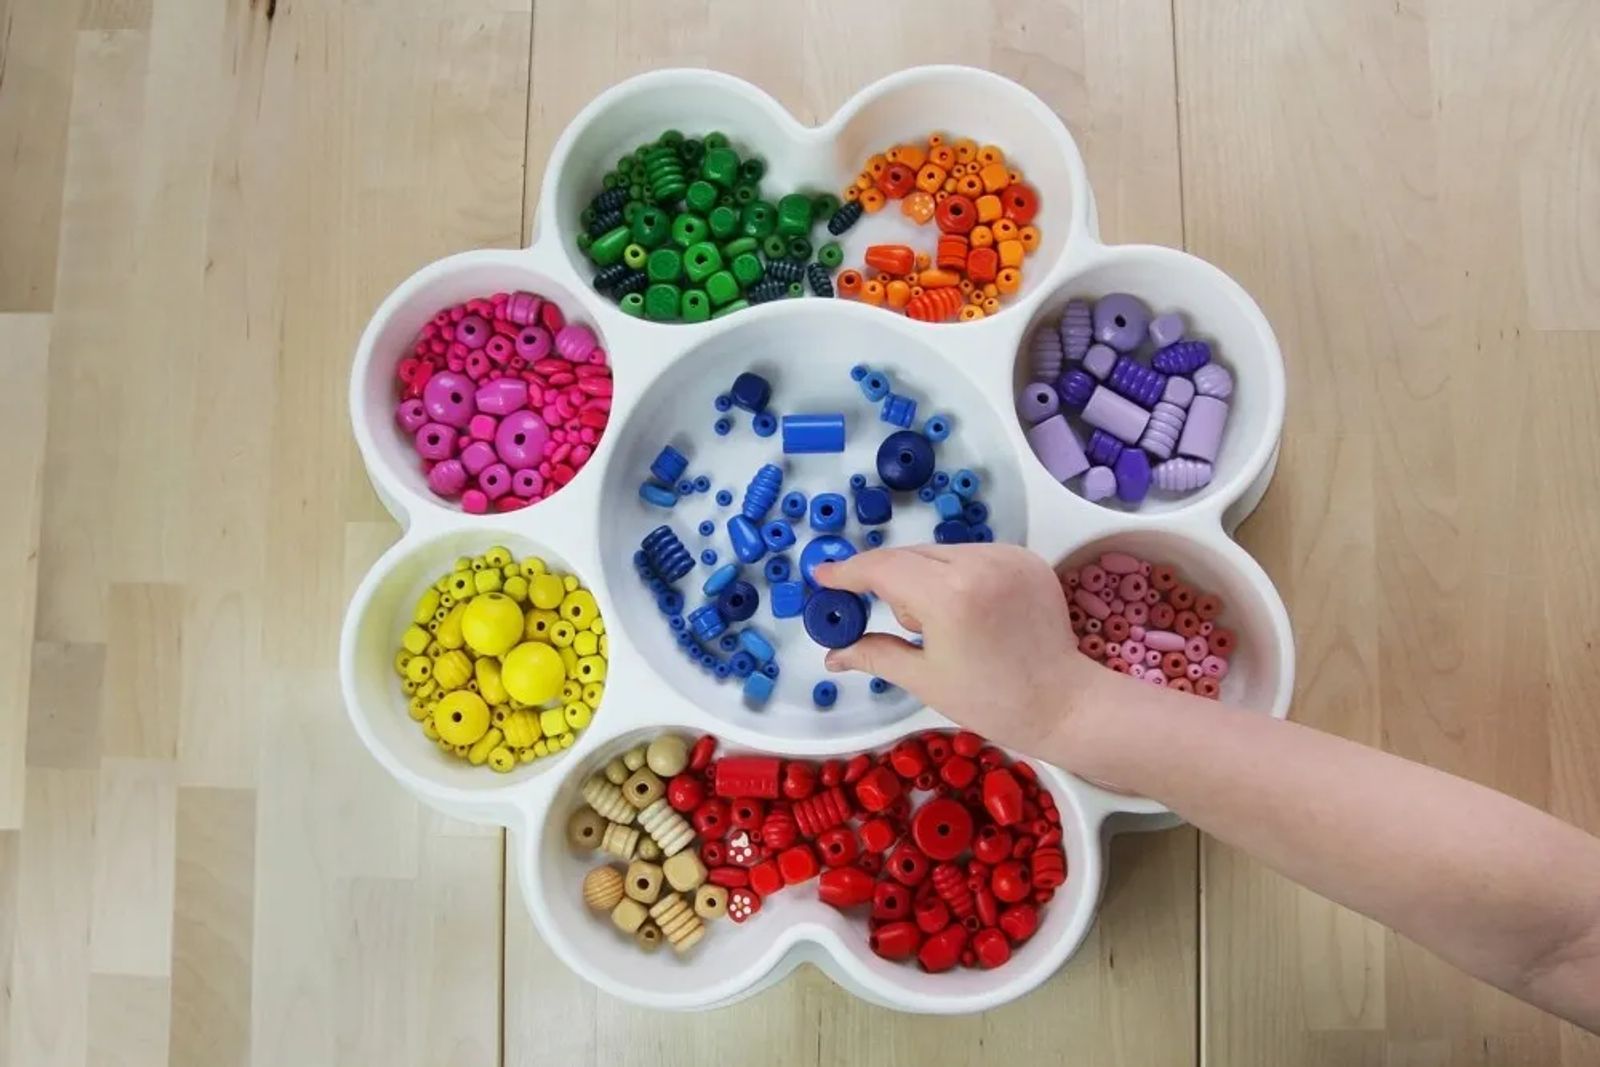
Sequencing art lessons by increasing their challenge is also a great way to continue to keep the child’s interest and build their abilities. Children help themselves to well-ordered materials that are prepared for their age-grouping of skill and mastery. Displays of finished artwork around the area also serve as a reminder of the options available to the child and continue to directly pique their interest in art.
3. What is the inspiration?
Personal Inspiration
Inspiration for creating art is limitless, and it is important to follow the child’s interests and/or the adult’s interests when creating art. If a child is interested in a particular subject or medium, those might be enough for inspiring art. If the adult really loves a particular subject or medium, their interest may spark a desire in the child to try something new. The most inspiring art lessons are ones that are put together by a person who enjoys what they are creating. Seeing excitement on the face of the teacher as they prepare an art lesson invites the interest of other adults, and the delight is infectious! Perhaps the adult wants to share in their passion and show a child step by step how to finger knit, or talk a group of children through the creation of a piece created in the likeness of the adult’s work. Or, maybe the adult chooses to teach children how to make string puppets or clay statues based on a child’s interest in puppetry or architecture.
Open-Ended or Project-Based Inspiration
Deciding whether the inspiration for an artwork should be open-ended or project-based can often help define parameters for the work. A basket of plain white paper with a paintbrush and a set of water colors could become many different pieces of art to many different people. The study of penguins could allow for multiple artworks in varying media which all-encompass penguins: cardboard tube penguins, creating penguins from the letter "p," even food art penguins using black olives, cream cheese, and carrots!
Seasonal or Celebratory Inspiration
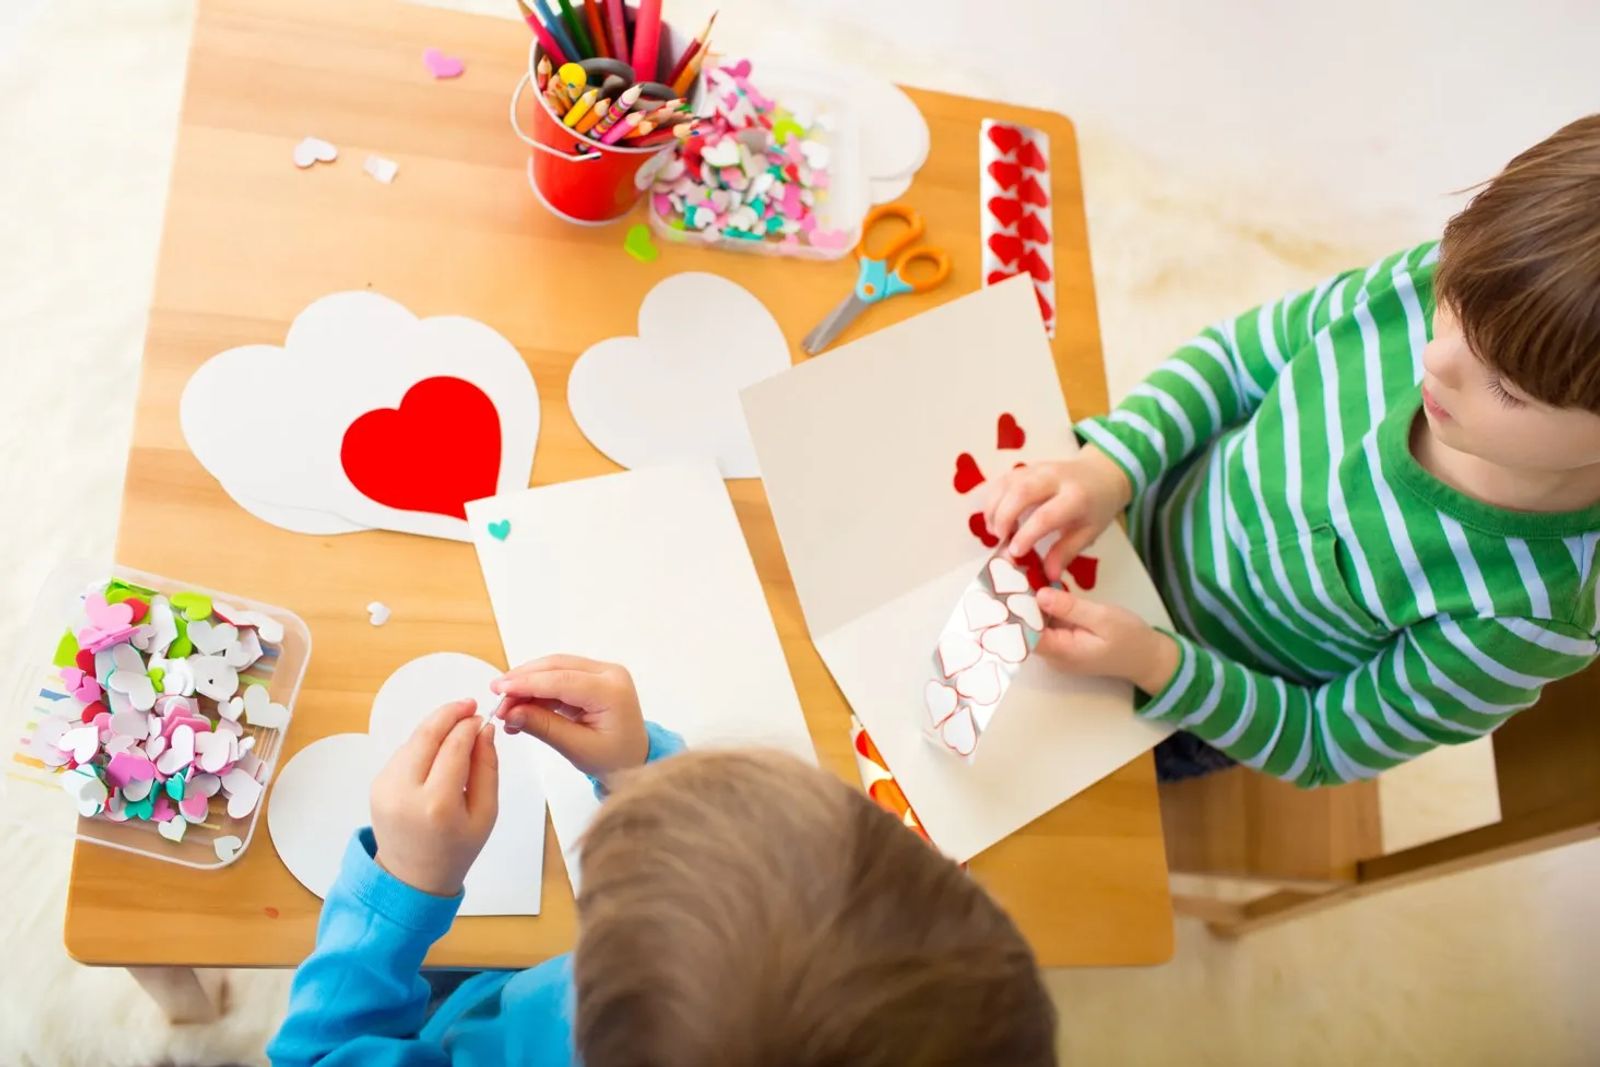
Sometimes the seasons or celebrations inspire the creation of art. Witnessing the autumn leaves falling may inspire a nature walk and use of some natural findings for art. Rubbing leaves or pasting real grass, rocks or twigs onto a picture change it dramatically from a colored pencil drawing. Celebrating a special day may inspire the creation of a gift or a decorated card. Even small children can add stickers and use their fingerprints or first letter of their name to "sign" a decorated card.
Famous Artist Inspiration
Inspiration in art can also be found in learning more about famous artists. Studying their artwork and what inspired them may lead children to make works in the famous artist’s style. Visiting an art museum and discussing art interpretation before creating more of their own work might also be inspirational. The works of artists like Vincent Van Gogh or Wassily Kandinksy are interesting to look at, have many resources available to study or read about, and can easily be adapted to help younger students create works in their style. Local artists are also a great source of inspiration for young artists, and many will happily teach children about their craft, whether it's spinning yarn or throwing clay!
Montessori Environment Inspiration
Art can also be inspired within the walls of the Montessori classroom through the four main avenues. Practical Life uses artistic properties in lessons such as sewing and cutting snips with scissors. The Sensorial avenue appeals artistically to the senses throughout it’s works in lessons like the color tablets and the geometric solids. Language helps the hand improve it’s fine motor skills and attracts the eye visually through tracing the sandpaper letters and metal insets. The mathematics avenue encompasses artistic properties in lessons like tracing the sandpaper numerals and building with the colorful Montessori beads. Including cultural study works like the parts of the animal, botany, and geographic puzzles can invite the child to participate in making artwork while learning more about real objects in their world.
The Finishing Touches
Three simple questions can provide lots of inspiration for creating art! What ages are you creating with? What materials do you like to use? What is your inspiration for creating art? Let us know; we would love to hear from you!


