
Baking Memories: Autumn Leaf Shortbread Cookies
Do you love spending quality time with your children while engaging in fun and educational activities? Cooking with kids is not just a delightful experience, but it also offers numerous benefits like enhancing their fine motor skills and imparting essential practical life lessons such as coordination, concentration, order, and independence. For older children, it even presents opportunities to develop their reading and math skills.
This fall, why not combine the joy of baking with a fascinating leaf lesson? As we explore the great outdoors and whip up delicious shortbread cookies, we'll seamlessly weave in a lesson about the changing colors of leaves, tree identification, and the anatomy of a leaf—all while having a blast.
Before we dive into this delightful baking adventure, remember the mantra: "Do with them, not for them." As Maria Montessori wisely said, "These words reveal the child's inner needs: 'Help me to do it myself.'"
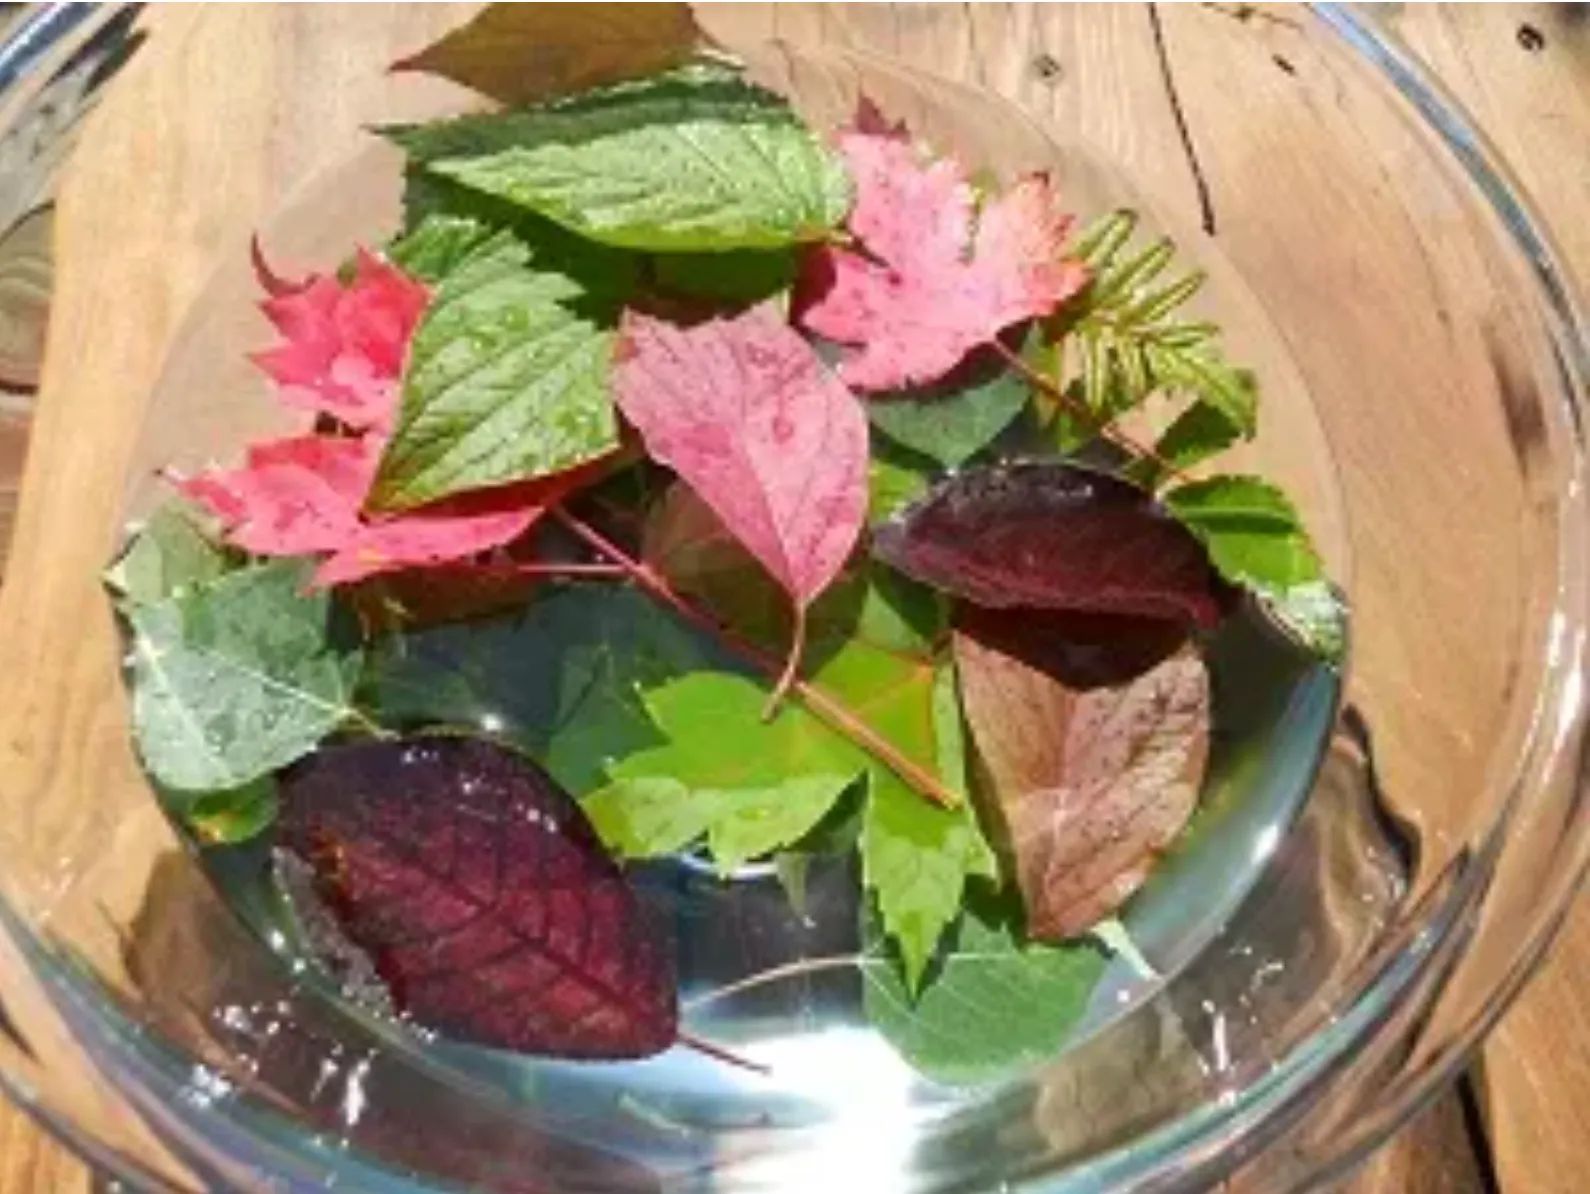
Step 1: Leaf Gathering
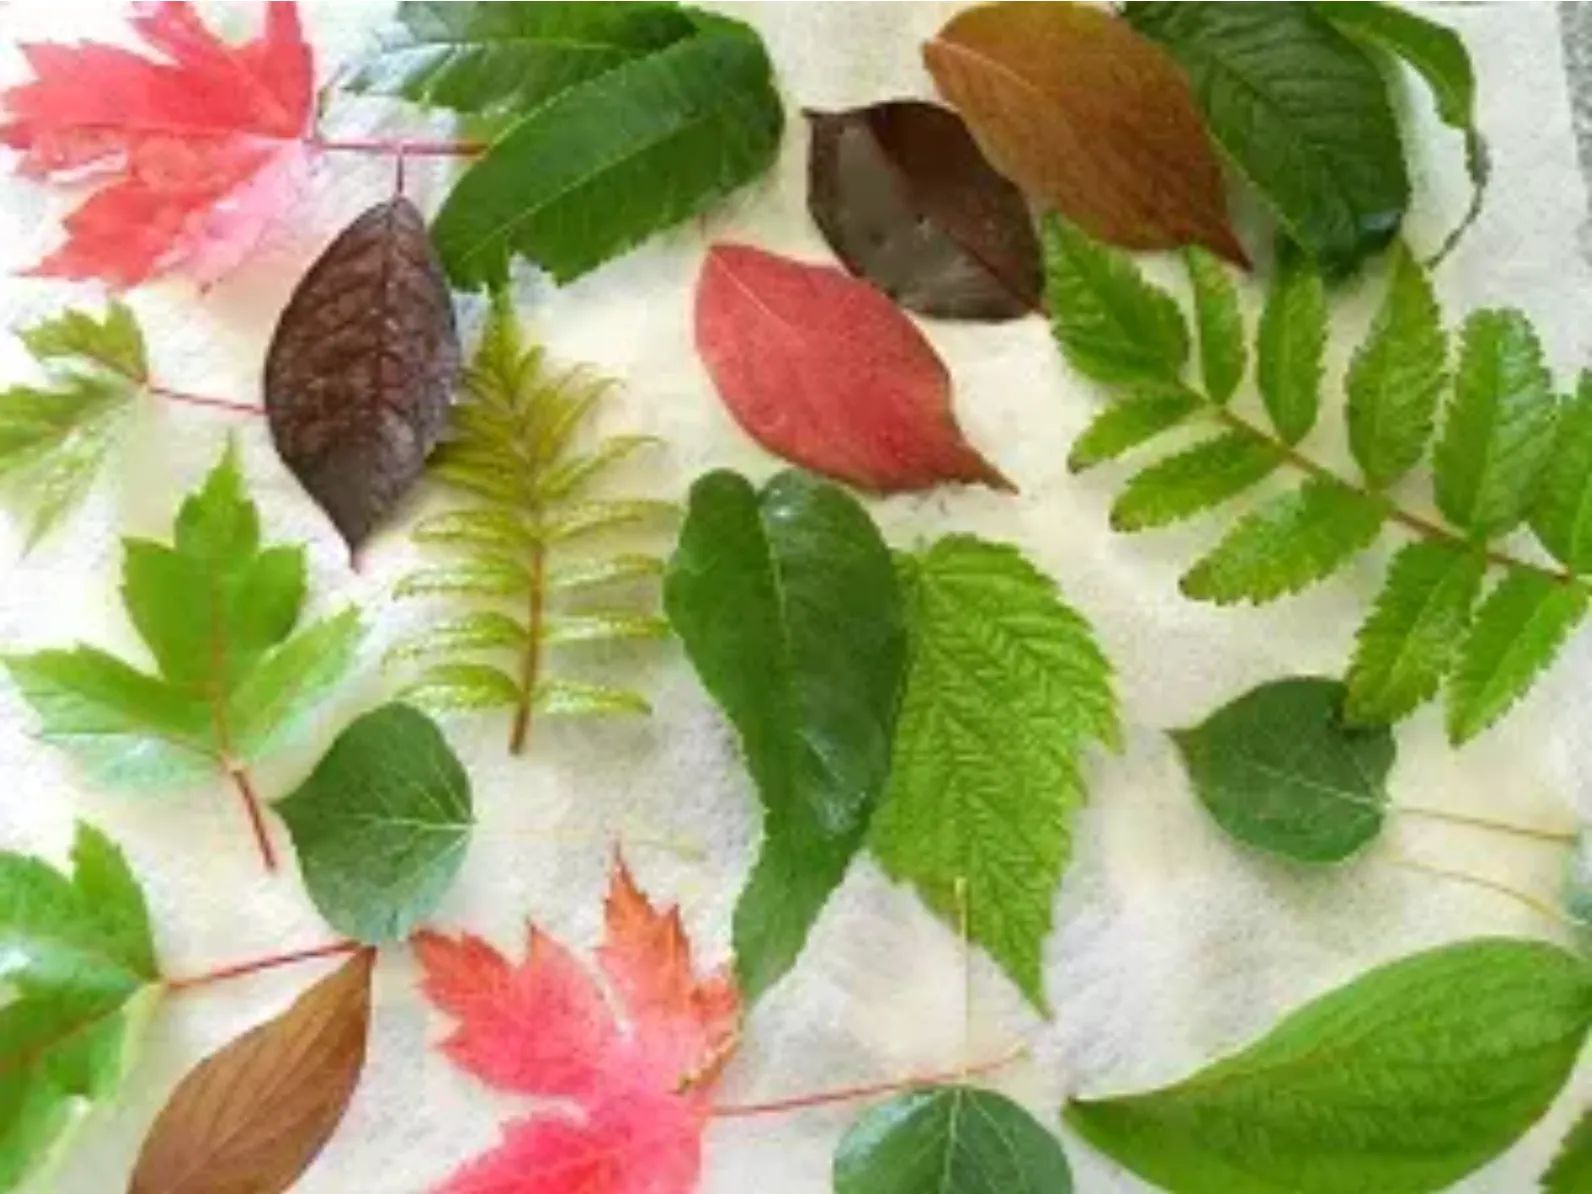
Begin by heading outdoors with your children to collect a variety of leaves from different trees in your area. Once you've gathered your leaf samples, give them a thorough wash and place them in a bowl of cold water. Encourage your kids to pick leaves of various shapes and sizes, adding an element of exploration to your adventure.
Step 2: Shortbread Cookie Dough
Let's start with the heart of our cookies—the shortbread dough. You can either use your favorite recipe or follow the one below:
Shortbread Cookie Dough:
- Using an electric mixer, whip 1 cup of softened butter in a large mixing bowl until it turns creamy.
- In a separate bowl, sift together 2 cups of flour, 1/2 cup of powdered sugar, and 1/4 teaspoon of salt.
- Blend the butter and flour mixtures until they form a dough.
- Shape the dough into a ball and wrap it in plastic wrap. Allow it to chill in the refrigerator for about 30 minutes.
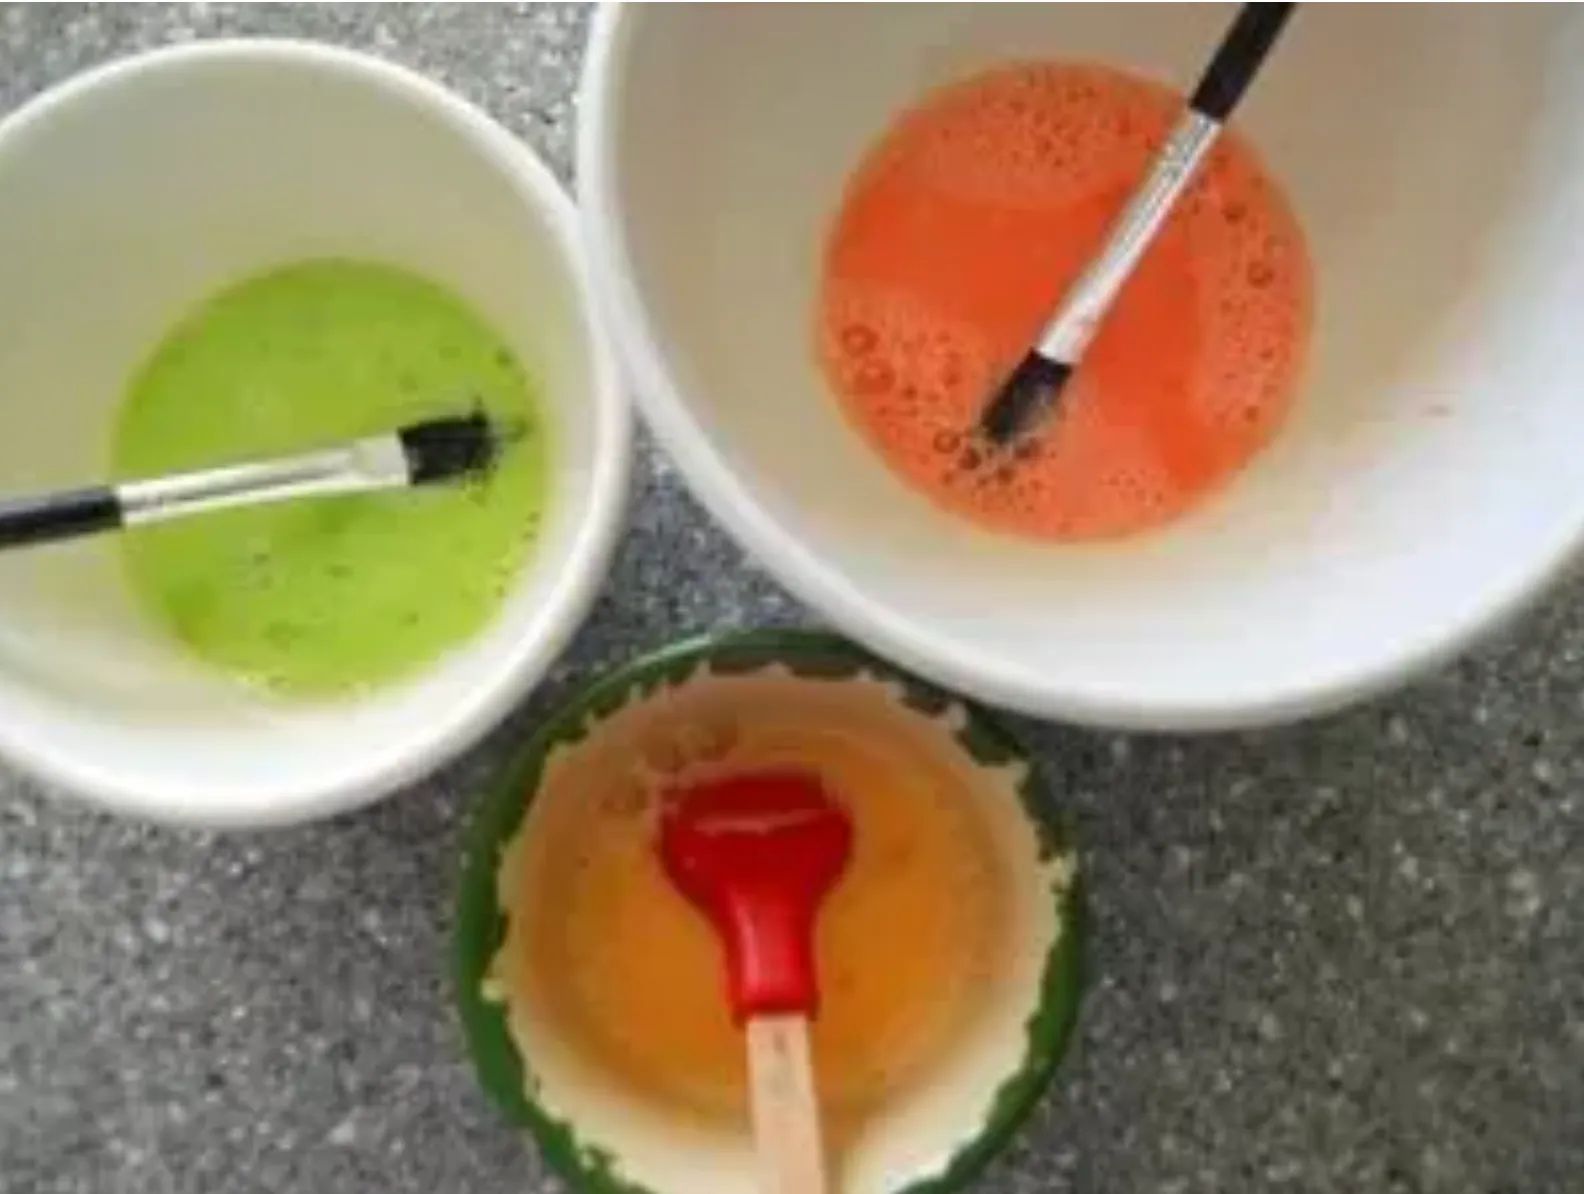
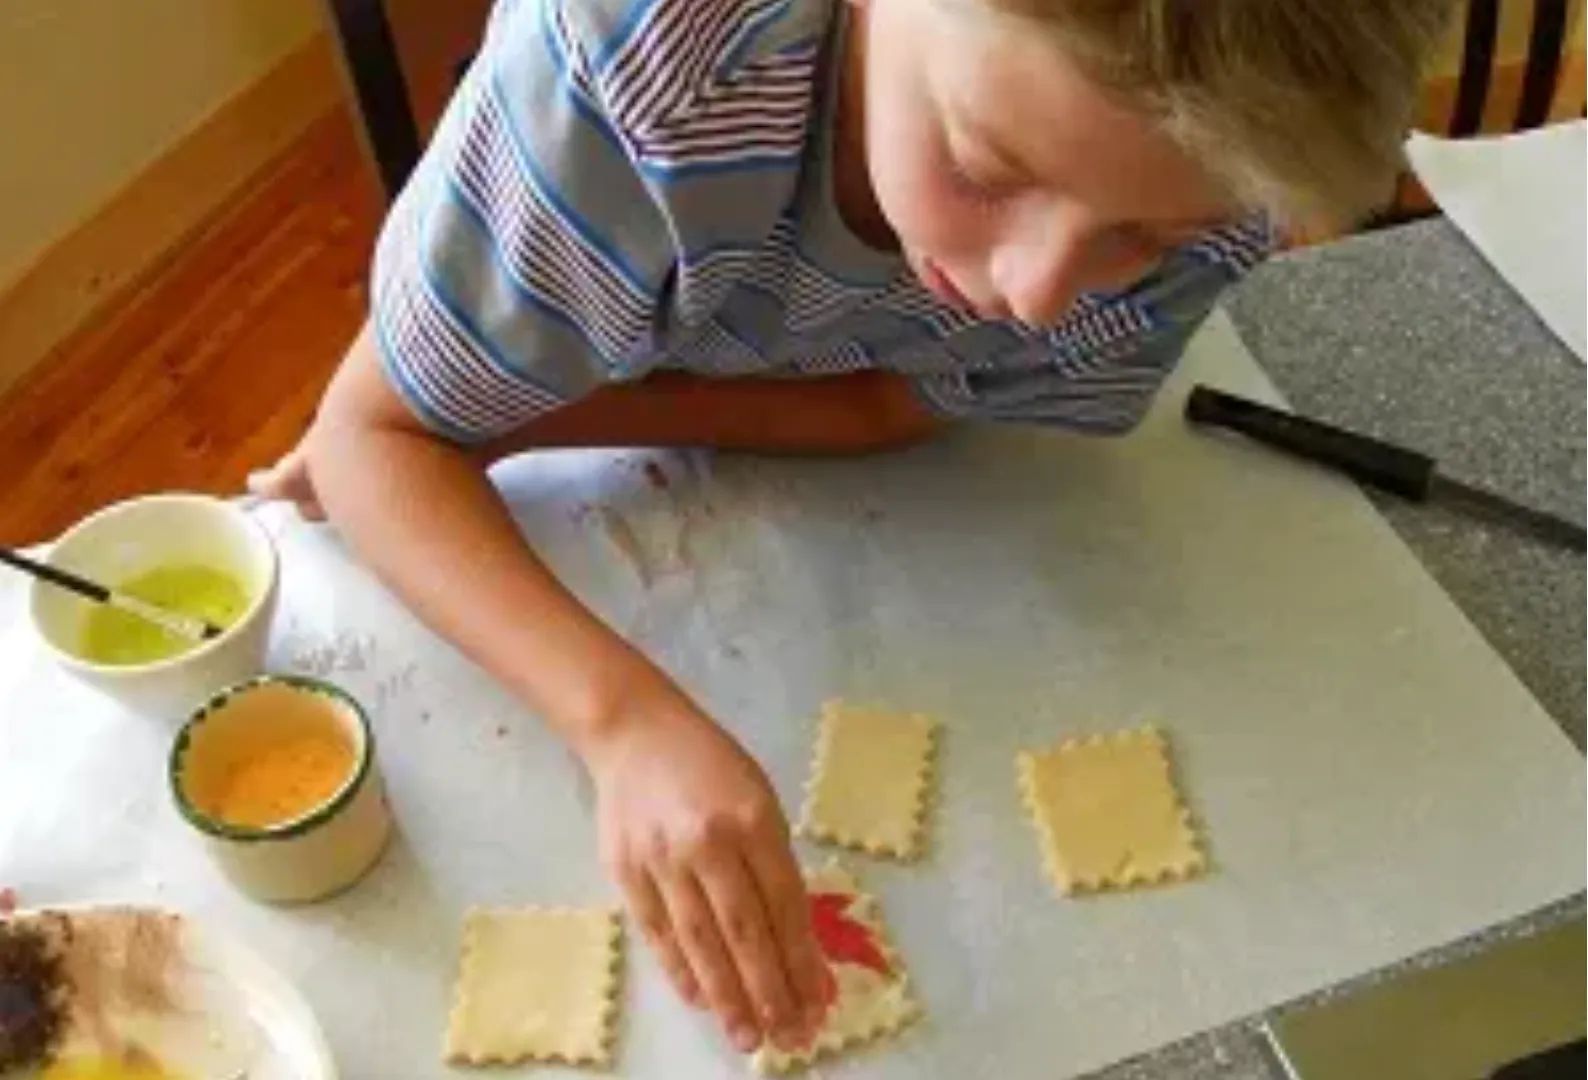
Step 3: Colored Glazes
While the dough chills, prepare your colored glazes. In a small bowl, whip 2 eggs with a splash of water. Divide the mixture into smaller bowls and add a drop or two of food coloring to each. We opted for warm, fall-inspired colors, but feel free to choose shades that inspire you and your little ones.
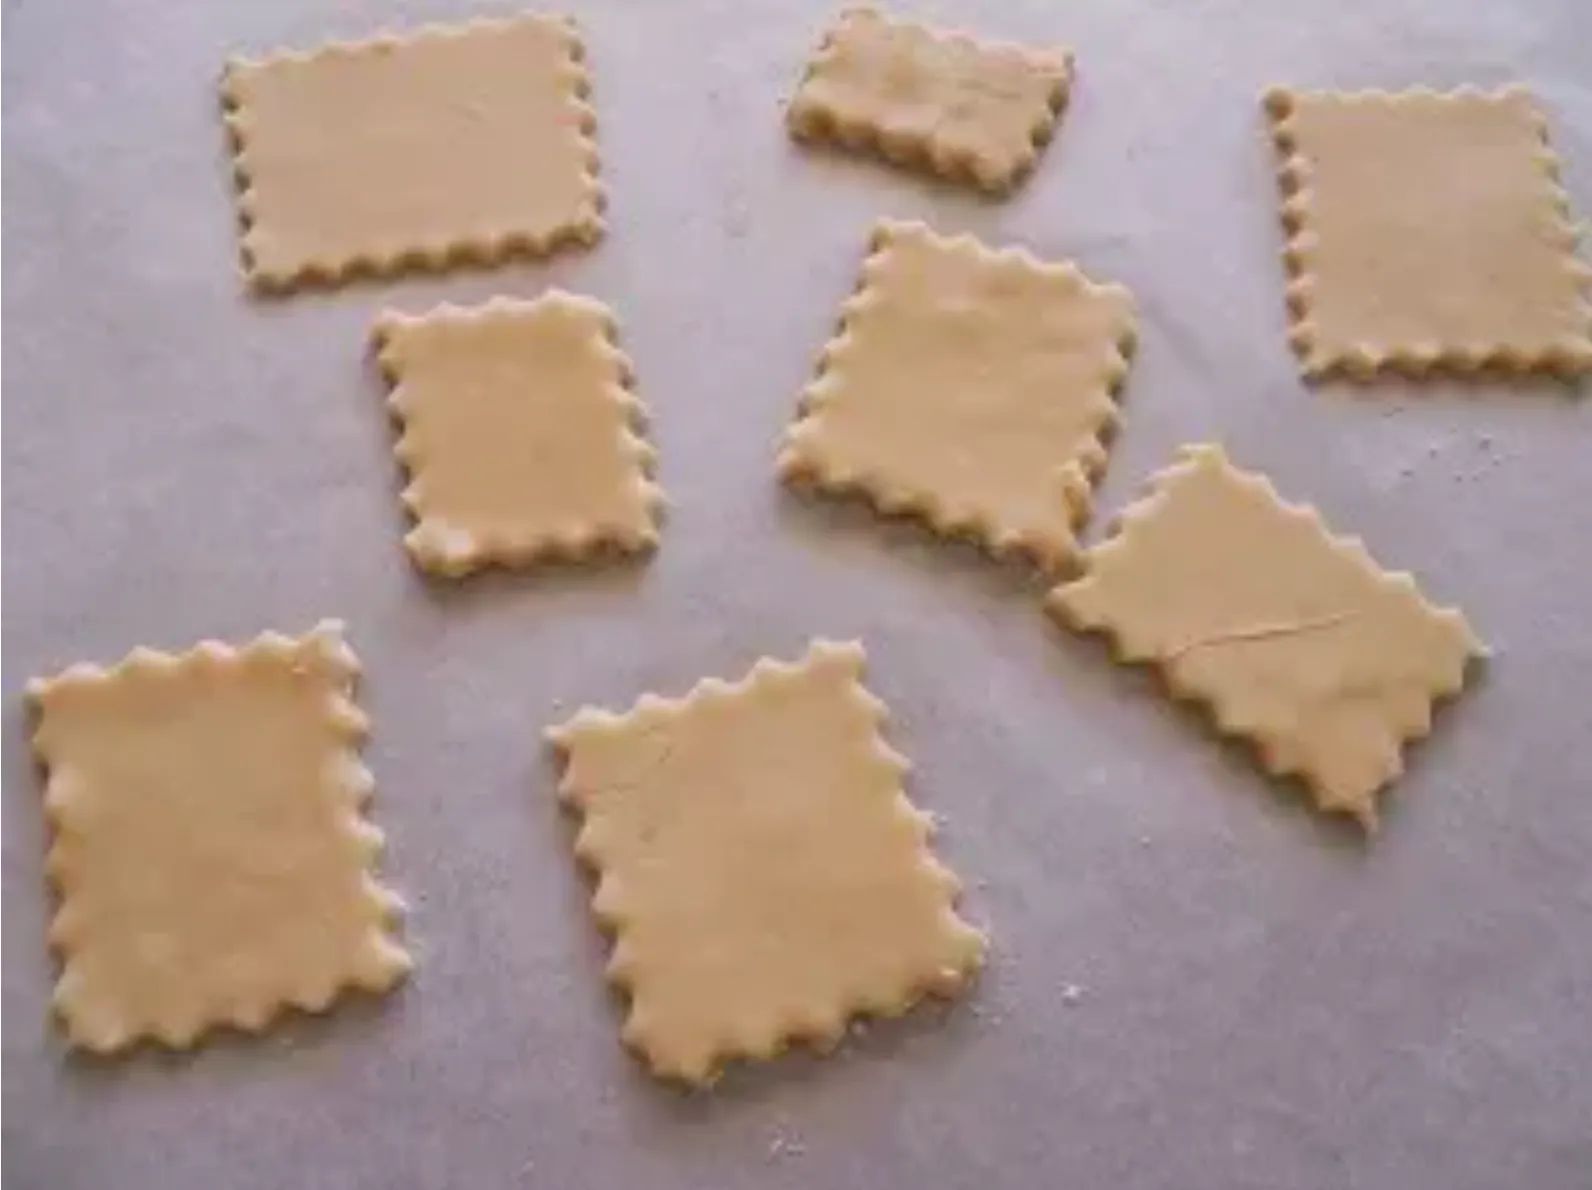
Step 4: Preheat and Prep
Preheat your oven to 325°F. On a floured surface, roll out the cookie dough to a thickness of about 1/3 inch. Then, cut out shapes using cookie cutters—squares, diamonds, circles, or any shape that tickles your fancy. This is a chance for your children to get creative with their cookie shapes.
Step 5: Leaf Preparation
Gently pat the leaves dry using a paper towel. These dried leaves will play a vital role in creating our leaf imprints.
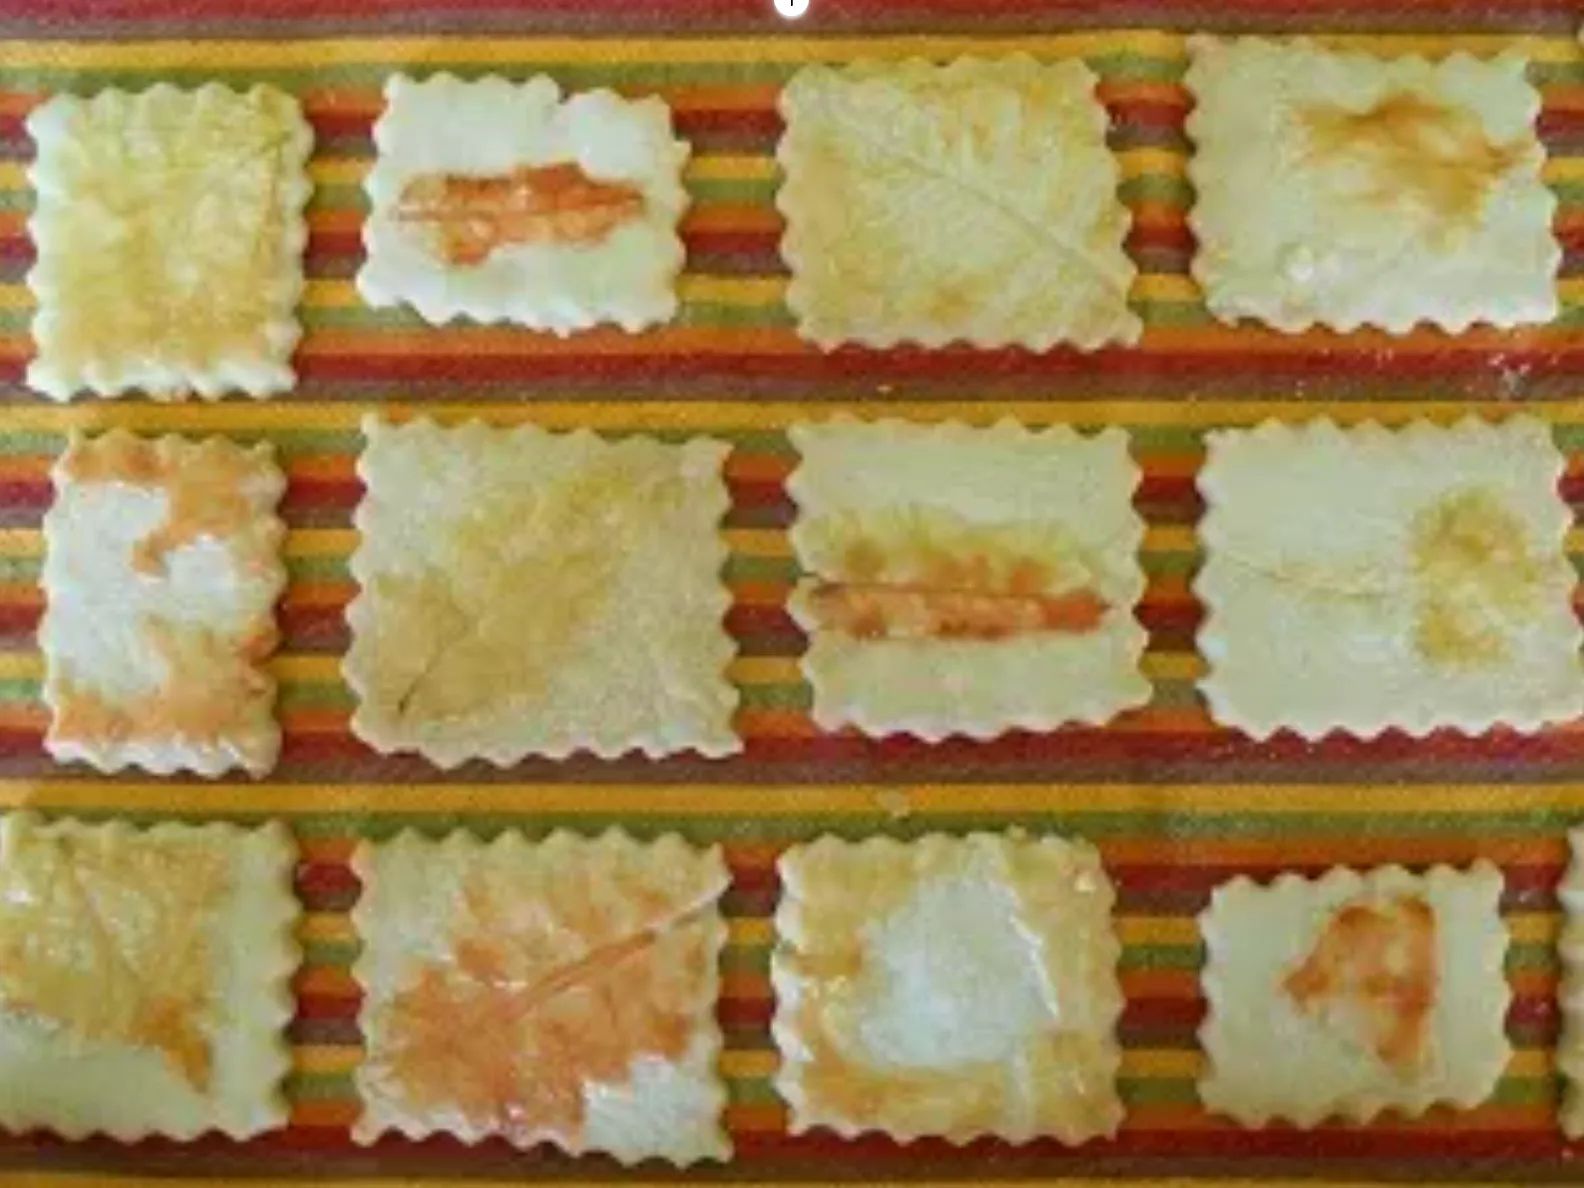
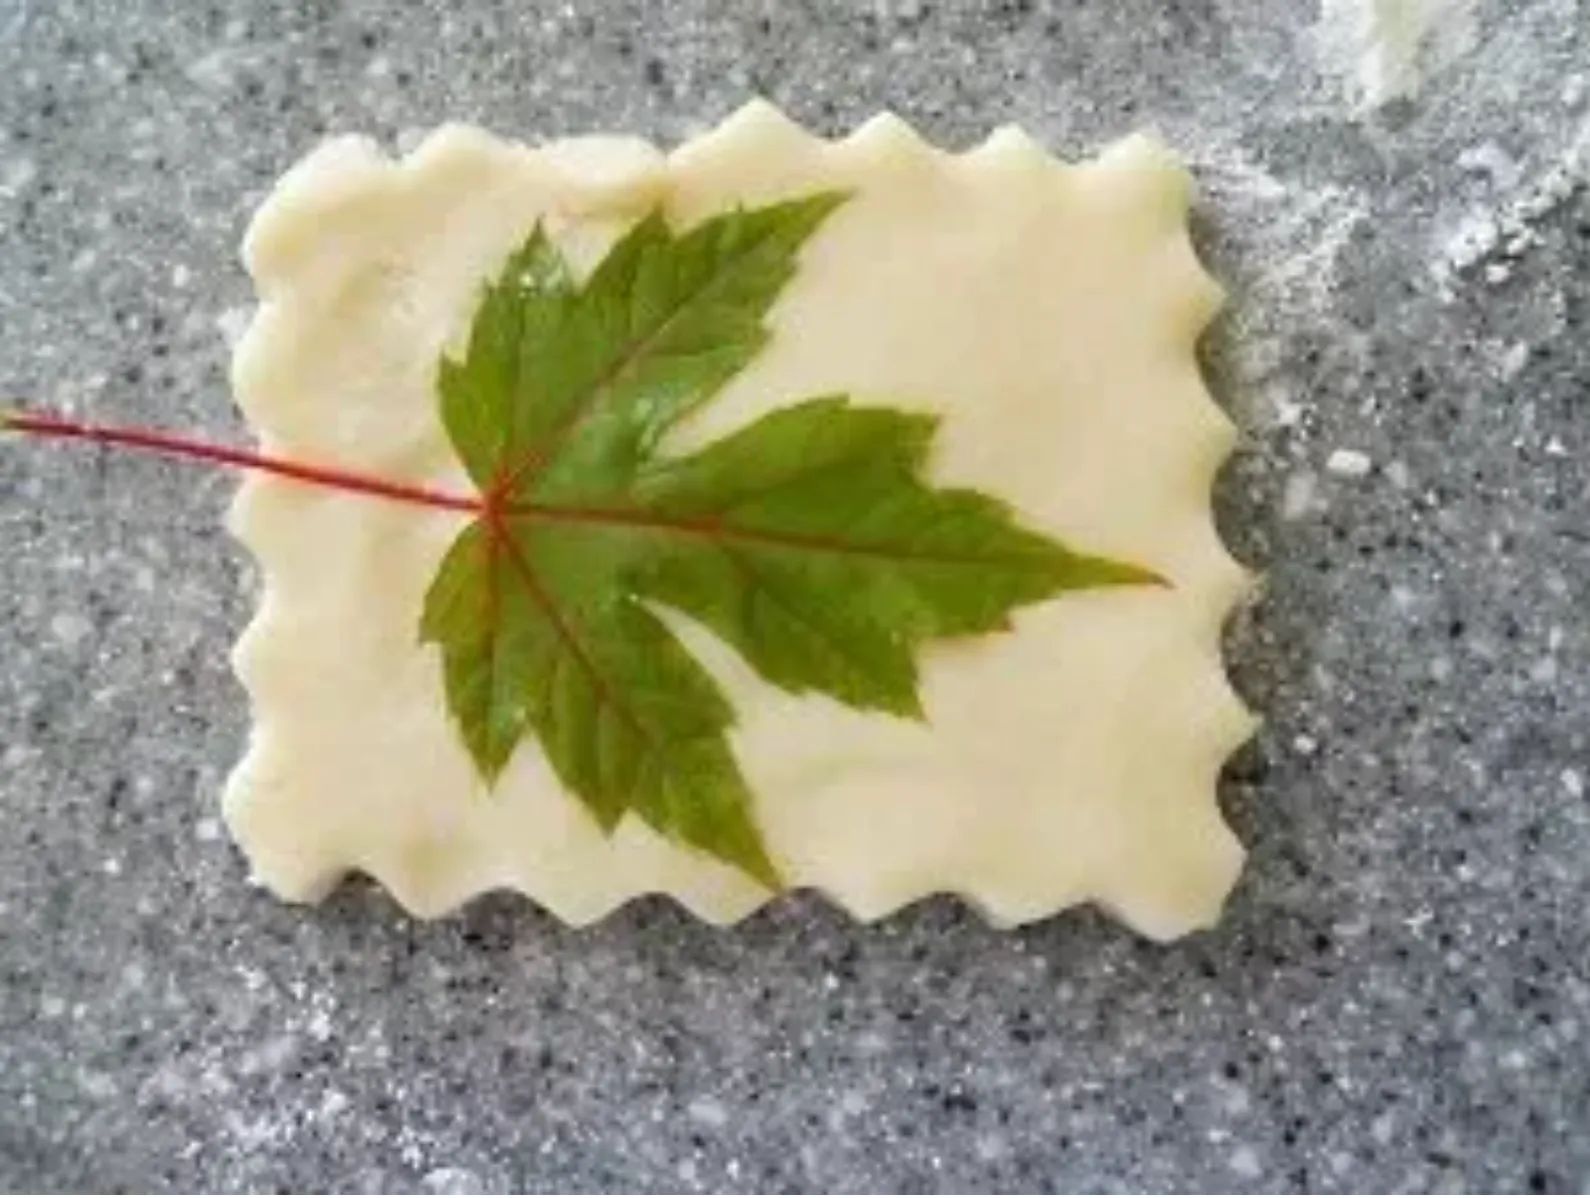
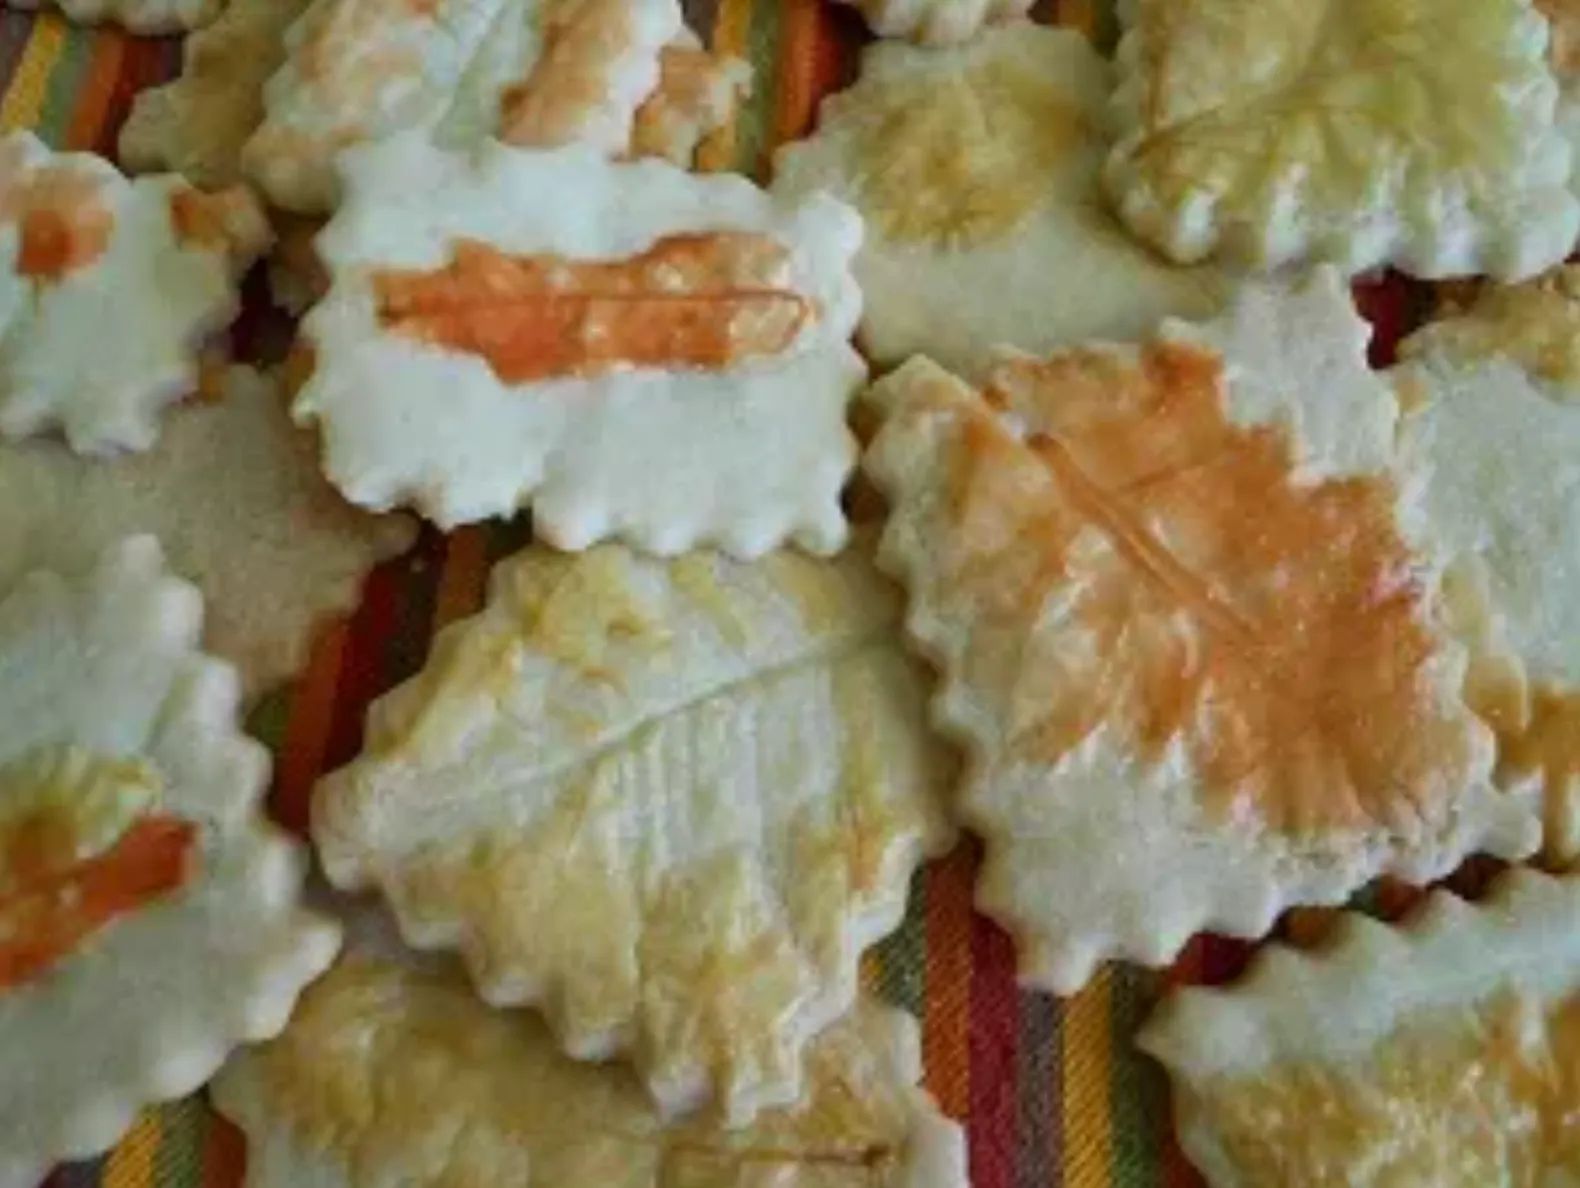
Step 6: Leaf Imprints
Now comes the fun part! Press the dry leaves into the cookie dough to create beautiful leaf imprints. This step fosters concentration and creativity, as your kids get to design their own leaf-inspired cookies.
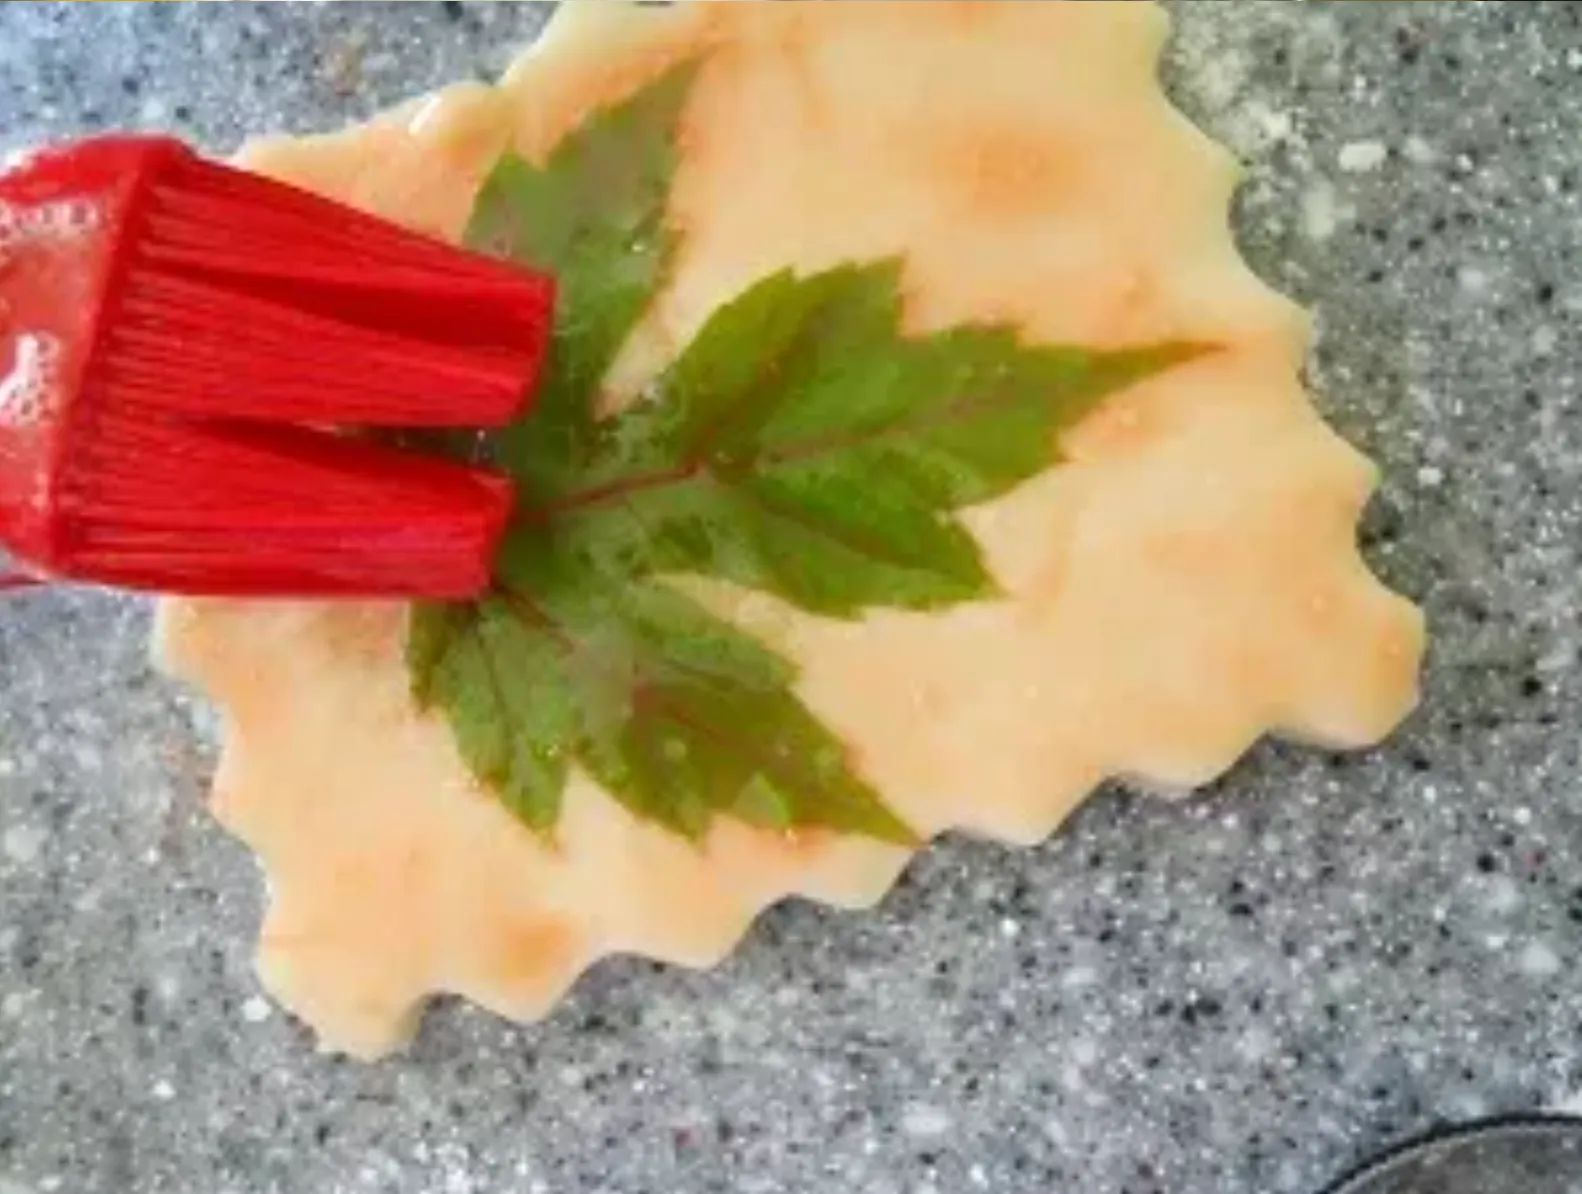
Step 7: Glaze and Paint
Using a paintbrush, delicately apply the colored glazes around the leaf imprints or let your creativity run wild. The glazes will not only add a burst of color but also a delightful, slightly glossy finish to your cookies.
Step 8: Baking Time
Place your beautifully decorated cookies on a parchment paper-lined cookie sheet. Bake them for 20-25 minutes or until they turn a delicate shade of golden brown. Just a reminder: make sure to remove any real leaves before baking!
Step 9: Indulge in the Delights
Once your cookies have cooled, it's time to indulge in these delectable treats. The combination of the crisp shortbread and the vibrant leaf imprints make for a delightful sensory experience that your children will cherish.
Incorporating learning into everyday activities like baking is a wonderful way to bond with your kids while encouraging their natural curiosity. Plus, who can resist the allure of freshly baked cookies, especially when they're as charming as these autumn leaf shortbread cookies? Enjoy making memories and delicious treats with your little ones this fall!