A Thanksgiving Craft: The Thankful Tree
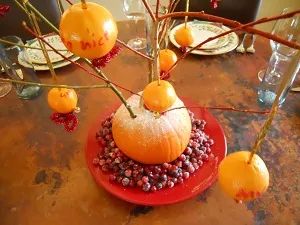
The Thankful Tree: Holiday centerpiece and conversational piece!
Activities and crafts are an integral part of any holiday celebration. They also help develop children's practical life skills, senses, and creativity. And I like the opportunity to spend quality time with my children.
This craft is fun and provides a great opportunity to talk about all the things we are thankful for and the meaning of our Thanksgiving holiday. Bonus: when finished, you have a beautiful holiday decoration.
WHAT YOU WILL NEED:
1 medium sized pumpkin
1 bag of fresh cranberries
6-10 Clementine oranges (cuties at Costco) or other small oranges
3 or 4 branches
Decorative ribbon, thin enough to be thread through the eye of a needle
1 large needle
1 egg white
1 cup of sugar
Scissors
Decorative serving plate or tray
Markers
Optional: a second color of ribbon
Brush the cranberries with egg-whites.
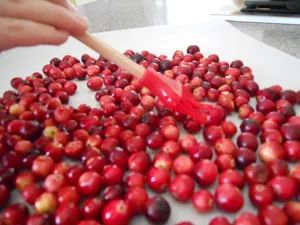
STEP #1: Frost Your Cranberries
Spread the cranberries on a piece of parchment or waxed paper. Using a basting brush, paint the berries with a slightly beaten egg white. Use a cookie sheet to keep the berries from rolling away, or just brush from the outer edges, toward the center of the group of berries.
Coat with sugar and let dry.
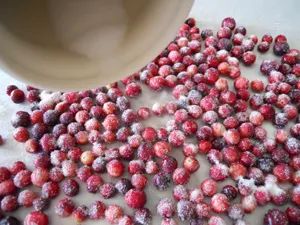
Sprinkle the cranberries with granulated white sugar. Toss the berries slightly to coat on all sides. Let them dry completely. Important reminder: Because of the raw egg whites, these berries are for decoration only. Do not eat them, no matter how tempting they may look.
Optional: We decided to frost the pumpkin too.
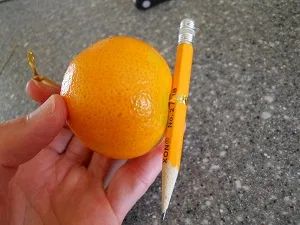
Cut a small x into the bottom and top of the oranges so that the ribbon can pass through.
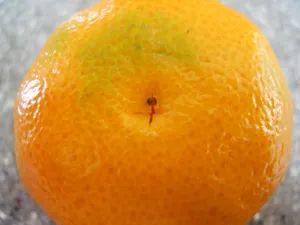
STEP #2: Making the Decorations
Using a knife with a pointed tip, make an x cut in the top and bottom of an orange. Cut a piece of the decorative ribbon into a 12 to 16 inch length. Fold the ribbon in half and thread it through a large needle. Using the needle, run the ribbon through the orange from top to bottom, from one x to the other. You should now have a loop sticking out the top of the orange and two loose ends sticking out the bottom.
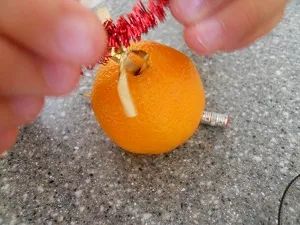
Slip a pencil through the looped end and tie a knot in the other end.
Slip a pencil or marker through the looped end, so it does not slip back into the orange. Tie the loose ends together in a knot. Tie another piece of ribbon into a bow at the base of the orange. This is for decoration and to keep the orange from slipping over your knot.
Tie another piece of ribbon into a bow at the base of the orange.
This is for decoration and to keep the orange from slipping over your knot.
Now, with a colored magic marker, let the kids write one thing they are thankful for this year. If they are too young to write themselves, they can still come up with the ideas. Here are some of the things my kids are thankful for:
- Mom and Dad,
- cousins,
- nice people,
- being smart,
- thankfulness,
- Legos,
- and pizza.
Cut holes in the top of the pumpkin for the branches.
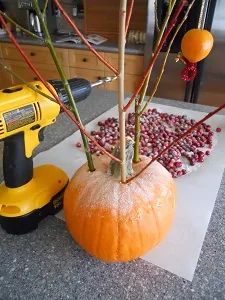
STEP #3: Make the " Tree"
Using a drill or thin knife, cut holes in the top of the pumpkin which are just big enough for your branches. Fit the branches into the slots.
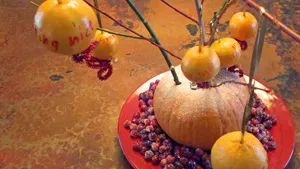
Place your tree on a serving dish and decorate with the orange ornaments and ribbon. Use the frosted cranberries to surround the pumpkin.
Place your center piece on the dinner table and let the conversations about thankfulness begin!